Column
media
media
column
Are you thinking, “It’s just a screw”? In the world of manufacturing, how you tighten this small component can significantly affect the quality and safety of a product. One of the most important factors is “torque management”—in simple terms, how much force is applied when tightening a screw.
If you apply too much force, the screw or parts may break. On the other hand, if the force is too weak, the screw may loosen over time, potentially leading to unexpected problems or accidents.
So, what’s the right way to do it?
This article will answer that question. We’ll clearly explain everything you need to know about the “proper tightening torque”—from the basics to practical applications on the production floor. This is a must-read for anyone involved with screws: manufacturing engineers, quality control personnel, designers, and on-site workers alike. Let’s dive in!
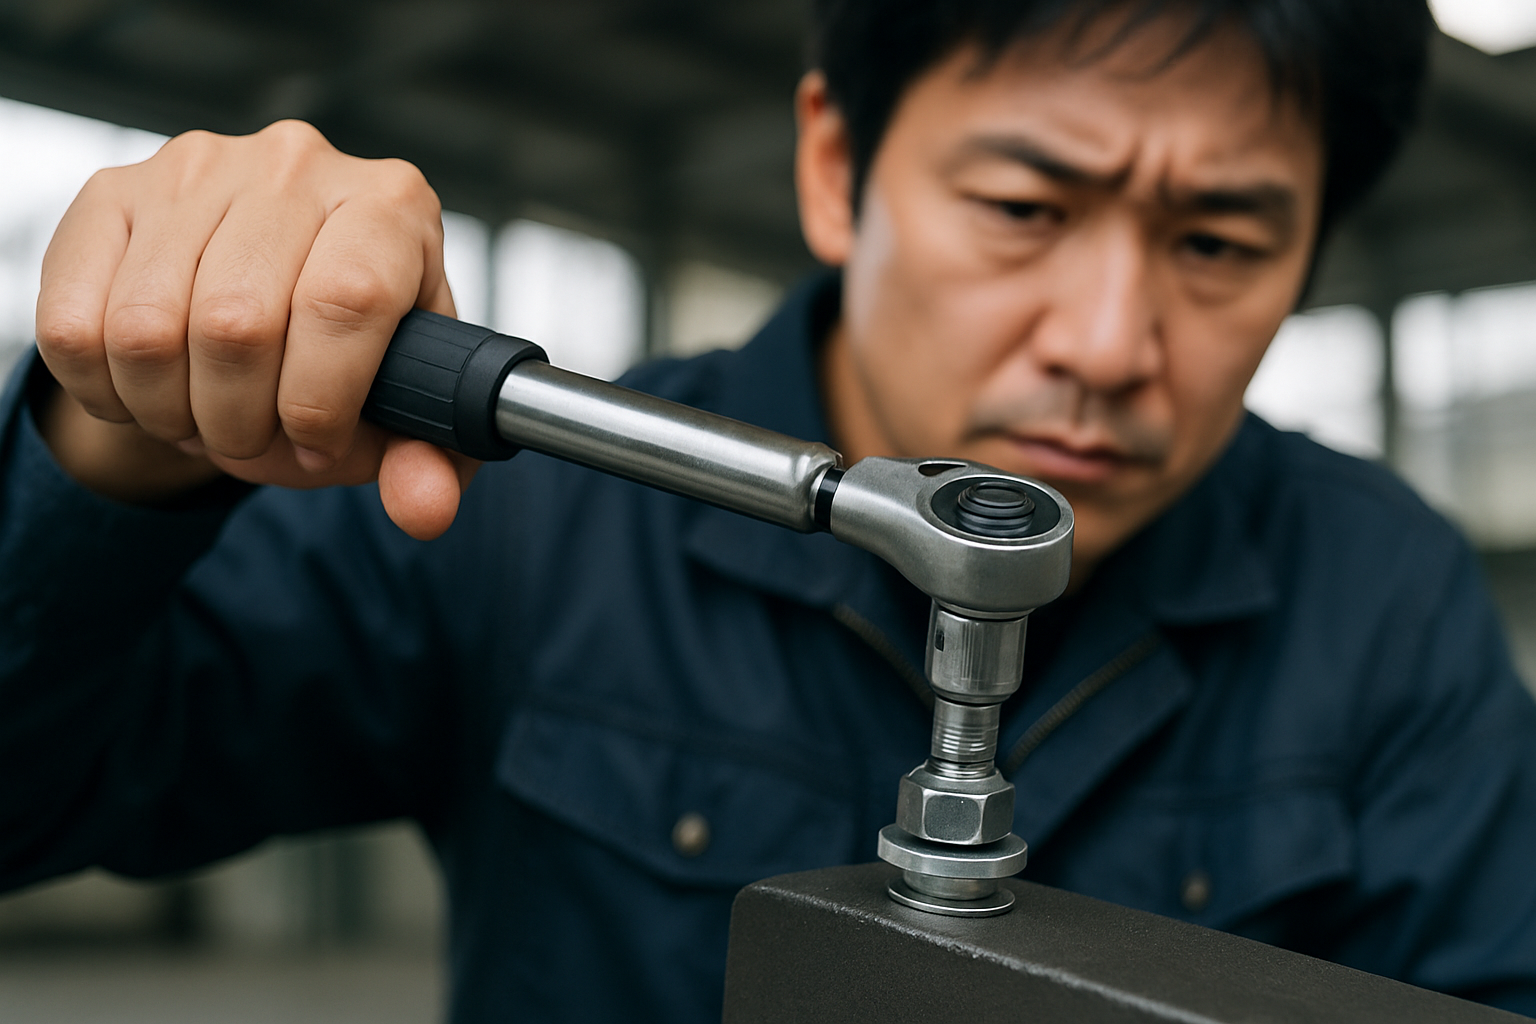
Let’s start with the basics—what “tightening torque” actually means.
Tightening torque refers to the rotational force applied when tightening a screw or bolt with a wrench or similar tool. It’s calculated by multiplying force (N) by the distance from the center of rotation (m), and it is expressed in units of N·m (Newton meters).
So why do we tighten screws? The purpose is to generate axial force that firmly holds the parts together. When you tighten a screw, it slightly stretches. The force trying to return it to its original length is the axial force. Think of it as an invisible, powerful spring clamping the parts together. Thanks to the friction from this axial force, the components stay fixed and don’t slip or loosen.
In other words, tightening with the right torque = getting the right axial force. That’s the essence of screw tightening.
Have you ever thought, “I better tighten this really well!” and used too much force? That mindset can actually backfire. Both over-tightening and under-tightening can cause various problems.
Over-tightening (over-torque) can cause “damage”
Under-tightening (under-torque) can lead to “loosening or detachment”
Now you can see how crucial it is to manage torque “just right.”
The proper torque value actually varies depending on many factors. Just like cooking recipes, you need to adjust based on the ingredients and conditions.
You can estimate torque using a simple formula:
T = k * d * F
The key element here is the torque coefficient (k). It represents how efficiently the applied torque is converted into axial force. This efficiency greatly depends on the level of friction.
Lubricated conditions yield better efficiency (smaller k), while dry conditions reduce efficiency (larger k). The issue is that k can vary significantly even with small changes, which means relying solely on torque may result in unexpected variations in axial force.
Since calculating each time is difficult, in practice, we often use standard torque charts. These are handy references provided by screw manufacturers, listing recommended torque values by material and size. You can also refer to JIS standards like JIS B 1083.
However, one thing to note: these values are reference values under general conditions. If your actual conditions (especially lubrication) differ, don’t take them at face value—adjust or test under your specific conditions to find the optimal torque.
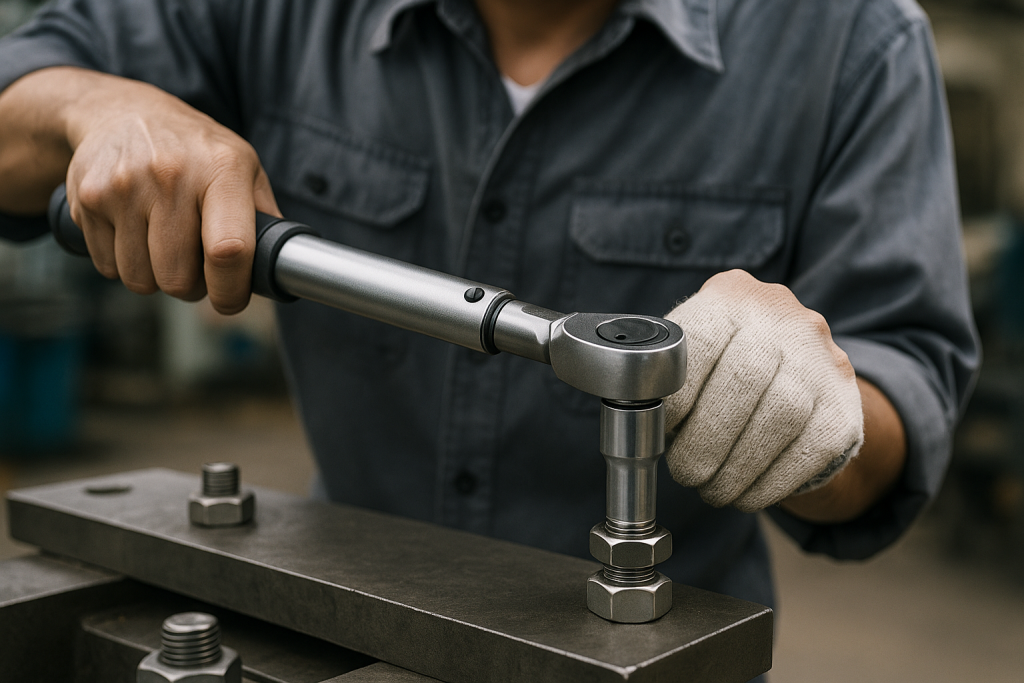
Now that the theory is covered, let’s look at how to achieve “proper torque” in real-world practice.
Choose based on required accuracy, cost, and workability.
Torque wrenches are the main players in torque management. There are several types:
When selecting, consider required torque range, accuracy, and ease of use. And most importantly—use it correctly!
Torque wrenches may lose accuracy over time, even if unused.
Why calibrate? If you think it’s accurate but it’s not, your torque management loses meaning. That’s why periodic accuracy checks and adjustments—calibration—are essential.
How often? Once a year or after a certain number of uses is typical. Set internal rules based on your usage environment.
How? Use a specialized tester. Relying on a trusted provider is best. Especially with quality management systems (like ISO), traceable calibration records are required.
No matter how good the tools or rules are, without the user’s awareness, skill, and a verification process, they’re meaningless.
So, how was this quick tour through proper tightening torque?
Screw tightening is not just a task—it’s a critical part of product quality and safety control. Both over- and under-tightening can cause serious problems.
For reliable manufacturing, here’s what you can do starting today:
Mastering these basics is the shortcut to building trusted products. If this article helps you review and improve torque management in your workplace, nothing would make us happier.
For inquiries regarding samples or materials, please respond to this email or contact our sales representative!
At Ohta Vietnam, we not only provide ready-made products such as screws and bolts, but also support activities in the manufacturing field such as cutting, inspection, assembly, packaging…
Our equipment list is here
As a “specialized support” for the manufacturing industry in Asia. If you have any related questions, feel free to contact Ohta Vietnam for detailed support!
URL: https://ohtavn.com/en/contact/